
Can dovetail joints get any more complicated?
Happy New Year. I’m back at my workbench at last. It isn’t the same bench that I left 3 weeks ago; the joinery shop has moved next door in order to make room for more boats that need to be fixed. What hadn’t changed was the beam shelf to which I had been attaching deck beams before I left. It’s quite a complex task; complicated dovetail joints with all sorts of strange angles. We were warned that we would need to take notes while doing the first one in order to be able to do the rest. I had taken notes but somehow they didn’t mean much after 3 weeks. I spent the first morning just looking at what I’d done in mid-December, reading some meaningless sentences and diagrams and scratching my head.

Done at last
Deck beams are used to support the boat’s deck, and help to support the sides of the boat. They are attached to the upper edge of the boat’s sides (known as gunwales until the deck beams are attached, at which point they are referred to as beam shelves). They have to be constructed in accordance with Lloyd’s rules for scantlings which are determined by the dimensions of the bits of wood used to build the boat. These dimensions are referred to in the boat building world as ‘siding’ and ‘moulding’; the siding of a beam is its horizontal thickness or width and the moulding is its vertical depth of the beam at any point along its length. Where a beam meets a beam shelf there is a convergence of several angles; as John Leather says in ‘Clinker Boatbuilding’:
Setting out beam end joints requires careful thought as the gunwale or shelf is usually not vertical but raked outwards, and the sheer further confuses clear appreciation of the approach.
He didn’t even mention the fact that the beam itself is curved! (known as its crop). Our mission was to attach the deck beams to the beam shelf using half dovetail joints. The problem is that you don’t really know whether you’ve done it right until it’s done.

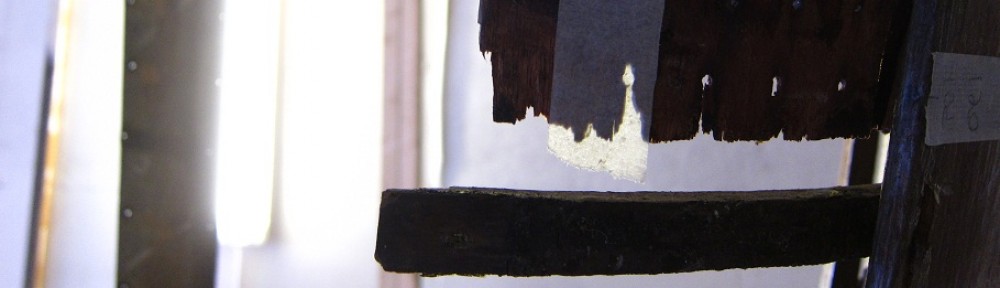
Projecting line.
At least one extra arm would have been handy. The beam has to be held vertically above the beam shelf while the required angles are projected between the beam and the beam shelf using a straight edge. It’s a leap of faith as you cut a homelet in the beam shelf to support the beam, cut a half dovetail on the beam and project its shape into the shelf. One or both of the dovetails has to then be tapered otherwise the beam won’t go into the beam shelf because of the rake of the shelf. Then its a matter of looking for points where the surfaces rub and easing them so that eventually the beam drops into place. Then it’s on to the next one. After I’d done three beams, Jon asked me if I was now confident about doing them; I think ‘yes’ was the right answer as I didn’t have to do any more.
A new group has started in joinery this week, good luck to them all. There’s lots to learn, but Ian and Jon are there to guide them through as painlessly as possible. I think the ‘how flat is flat?‘ discussion has started again already. I’ve almost finished my joinery projects; so I should be over in the boat shed (aka ‘the Dark Side’) by the end of this week. At last I’ll find out what happens behind the blue door …

Portal to the dark side

